
An audio greeting card is a small electronics project with a surprisingly clear division of labor: a switch detects that the card has opened, a sound module stores and decodes the recording, an amplifier drives the speaker, and a battery supplies the energy. You do not need to design a microchip or write a complete audio player to make one.
Start with the card’s visual idea first. A thoughtful thank you card design gives the electronics a reason to exist; the circuit should make the message more personal, not turn the card into a bulky science fair project. This guide explains the simplest reliable architecture, the parts to choose, how to wire it, and the mistakes that make tiny speakers sound awful.
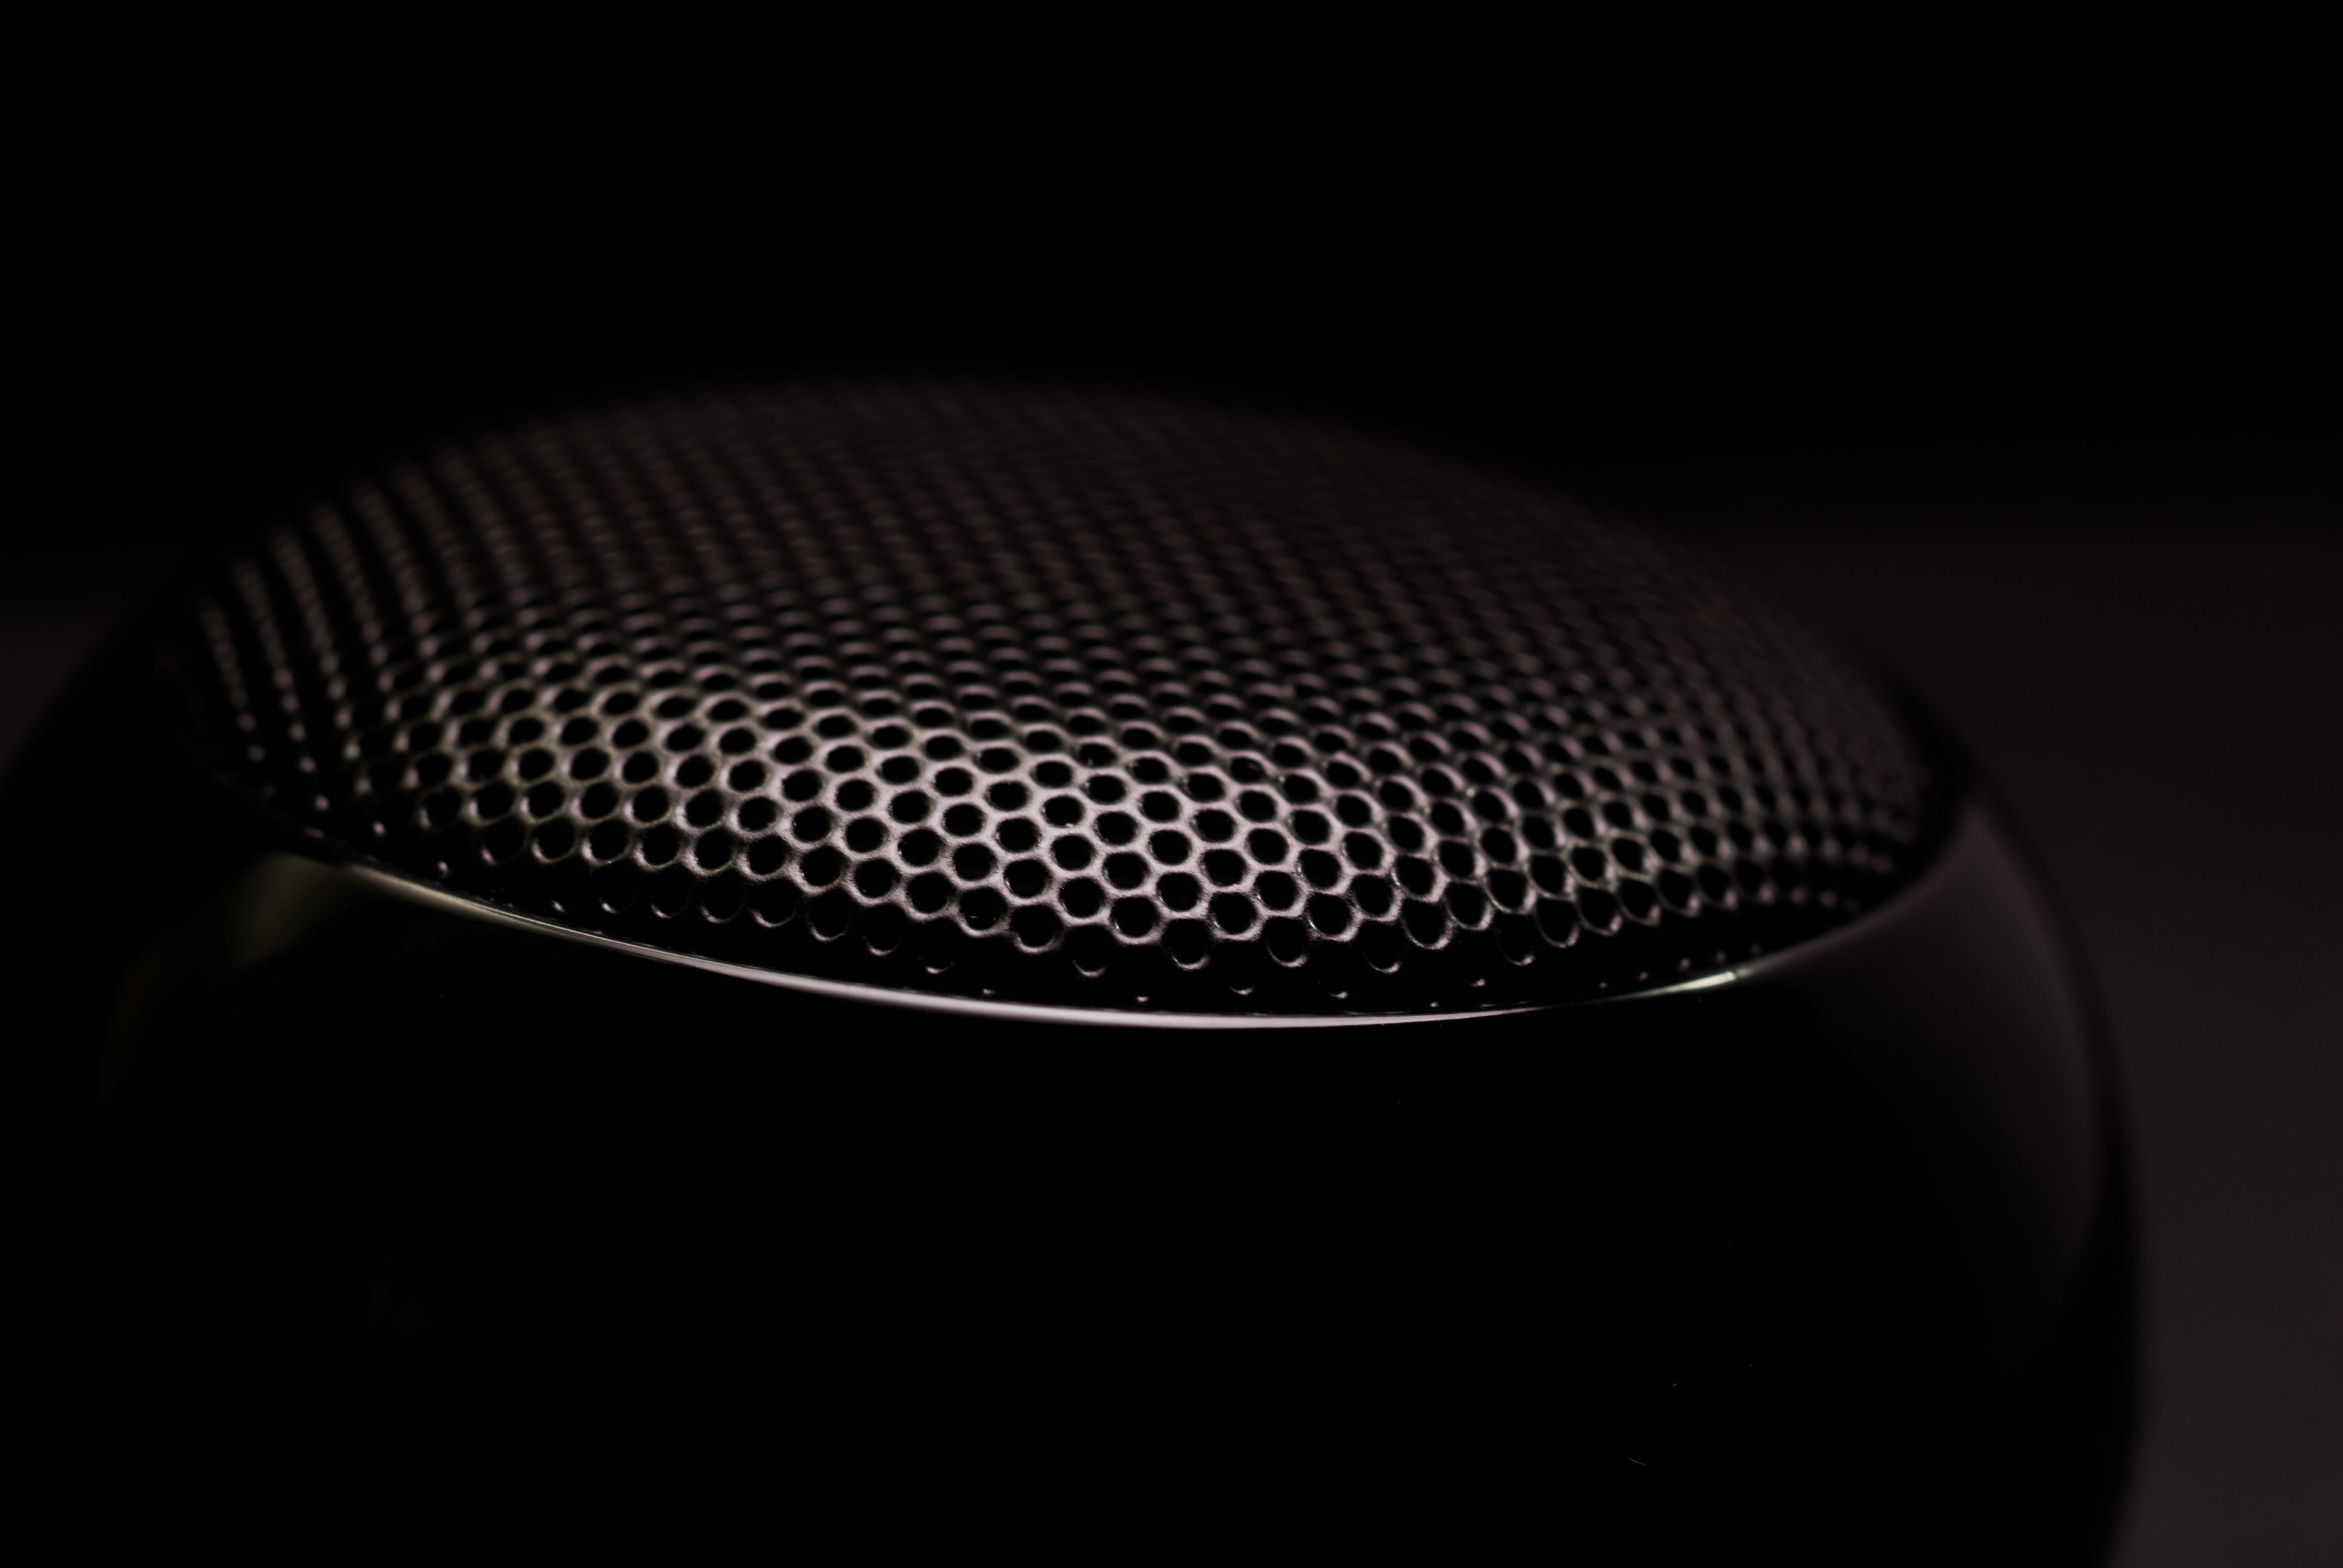
The four parts inside an audio greeting card
Most beginner builds can be understood as four blocks:
- Trigger: a folded-paper switch, push button, reed switch, tilt switch, or conductive contact that tells the circuit when to play.
- Sound module: a small board or integrated circuit that stores a recording and plays it when triggered.
- Amplifier: the output stage that supplies enough current to move the speaker cone.
- Speaker and power: the transducer that turns the electrical signal into sound, plus a battery or other low-voltage supply.
The “microchip” in a commercial musical card may combine several of these functions into one tiny package. For a first DIY card, however, a finished sound module is the better choice. It exposes useful connections, protects you from delicate surface-mount soldering, and lets you spend your effort on the enclosure, switch, and message.
There is an important distinction here: a piezo buzzer is not the same as a miniature loudspeaker. A buzzer is good for beeps and simple tones. A small dynamic speaker is the more natural choice for speech or music, but it needs an output stage designed to drive it. Never assume that a microcontroller pin can power a speaker directly. As SparkFun explains in its transistor and soundboard examples, the amplifier stage exists because the load can demand more current than a logic output should provide.
Choose the beginner-friendly circuit
For a first card, I recommend this signal path:
Paper switch → trigger pin on sound module → built-in amplifier or small amplifier board → 4Ω or 8Ω mini speaker
That arrangement is less elegant than designing a circuit around a bare microcontroller, but it is much easier to debug. A module with built-in triggering and amplification also removes two common failure points: software playback errors and an amplifier that is mismatched to the speaker.
Trigger-based boards are especially convenient. In Adafruit’s Audio FX documentation, a trigger pin is activated by connecting it to ground, and the board’s internal pull-up resistors mean that a beginner does not have to add a separate pull-up resistor for each button. The same guide reports roughly 120 milliseconds of delay for a WAV file in trigger mode, which is quick enough to feel immediate when a card opens.
Check the exact documentation for the module you buy. Pin names, supported file formats, trigger polarity, supply voltage, and speaker output style vary. Some amplifier outputs are differential: both speaker terminals are active, so one side must not be casually connected to ground. The board’s datasheet beats a generic wiring diagram every time.
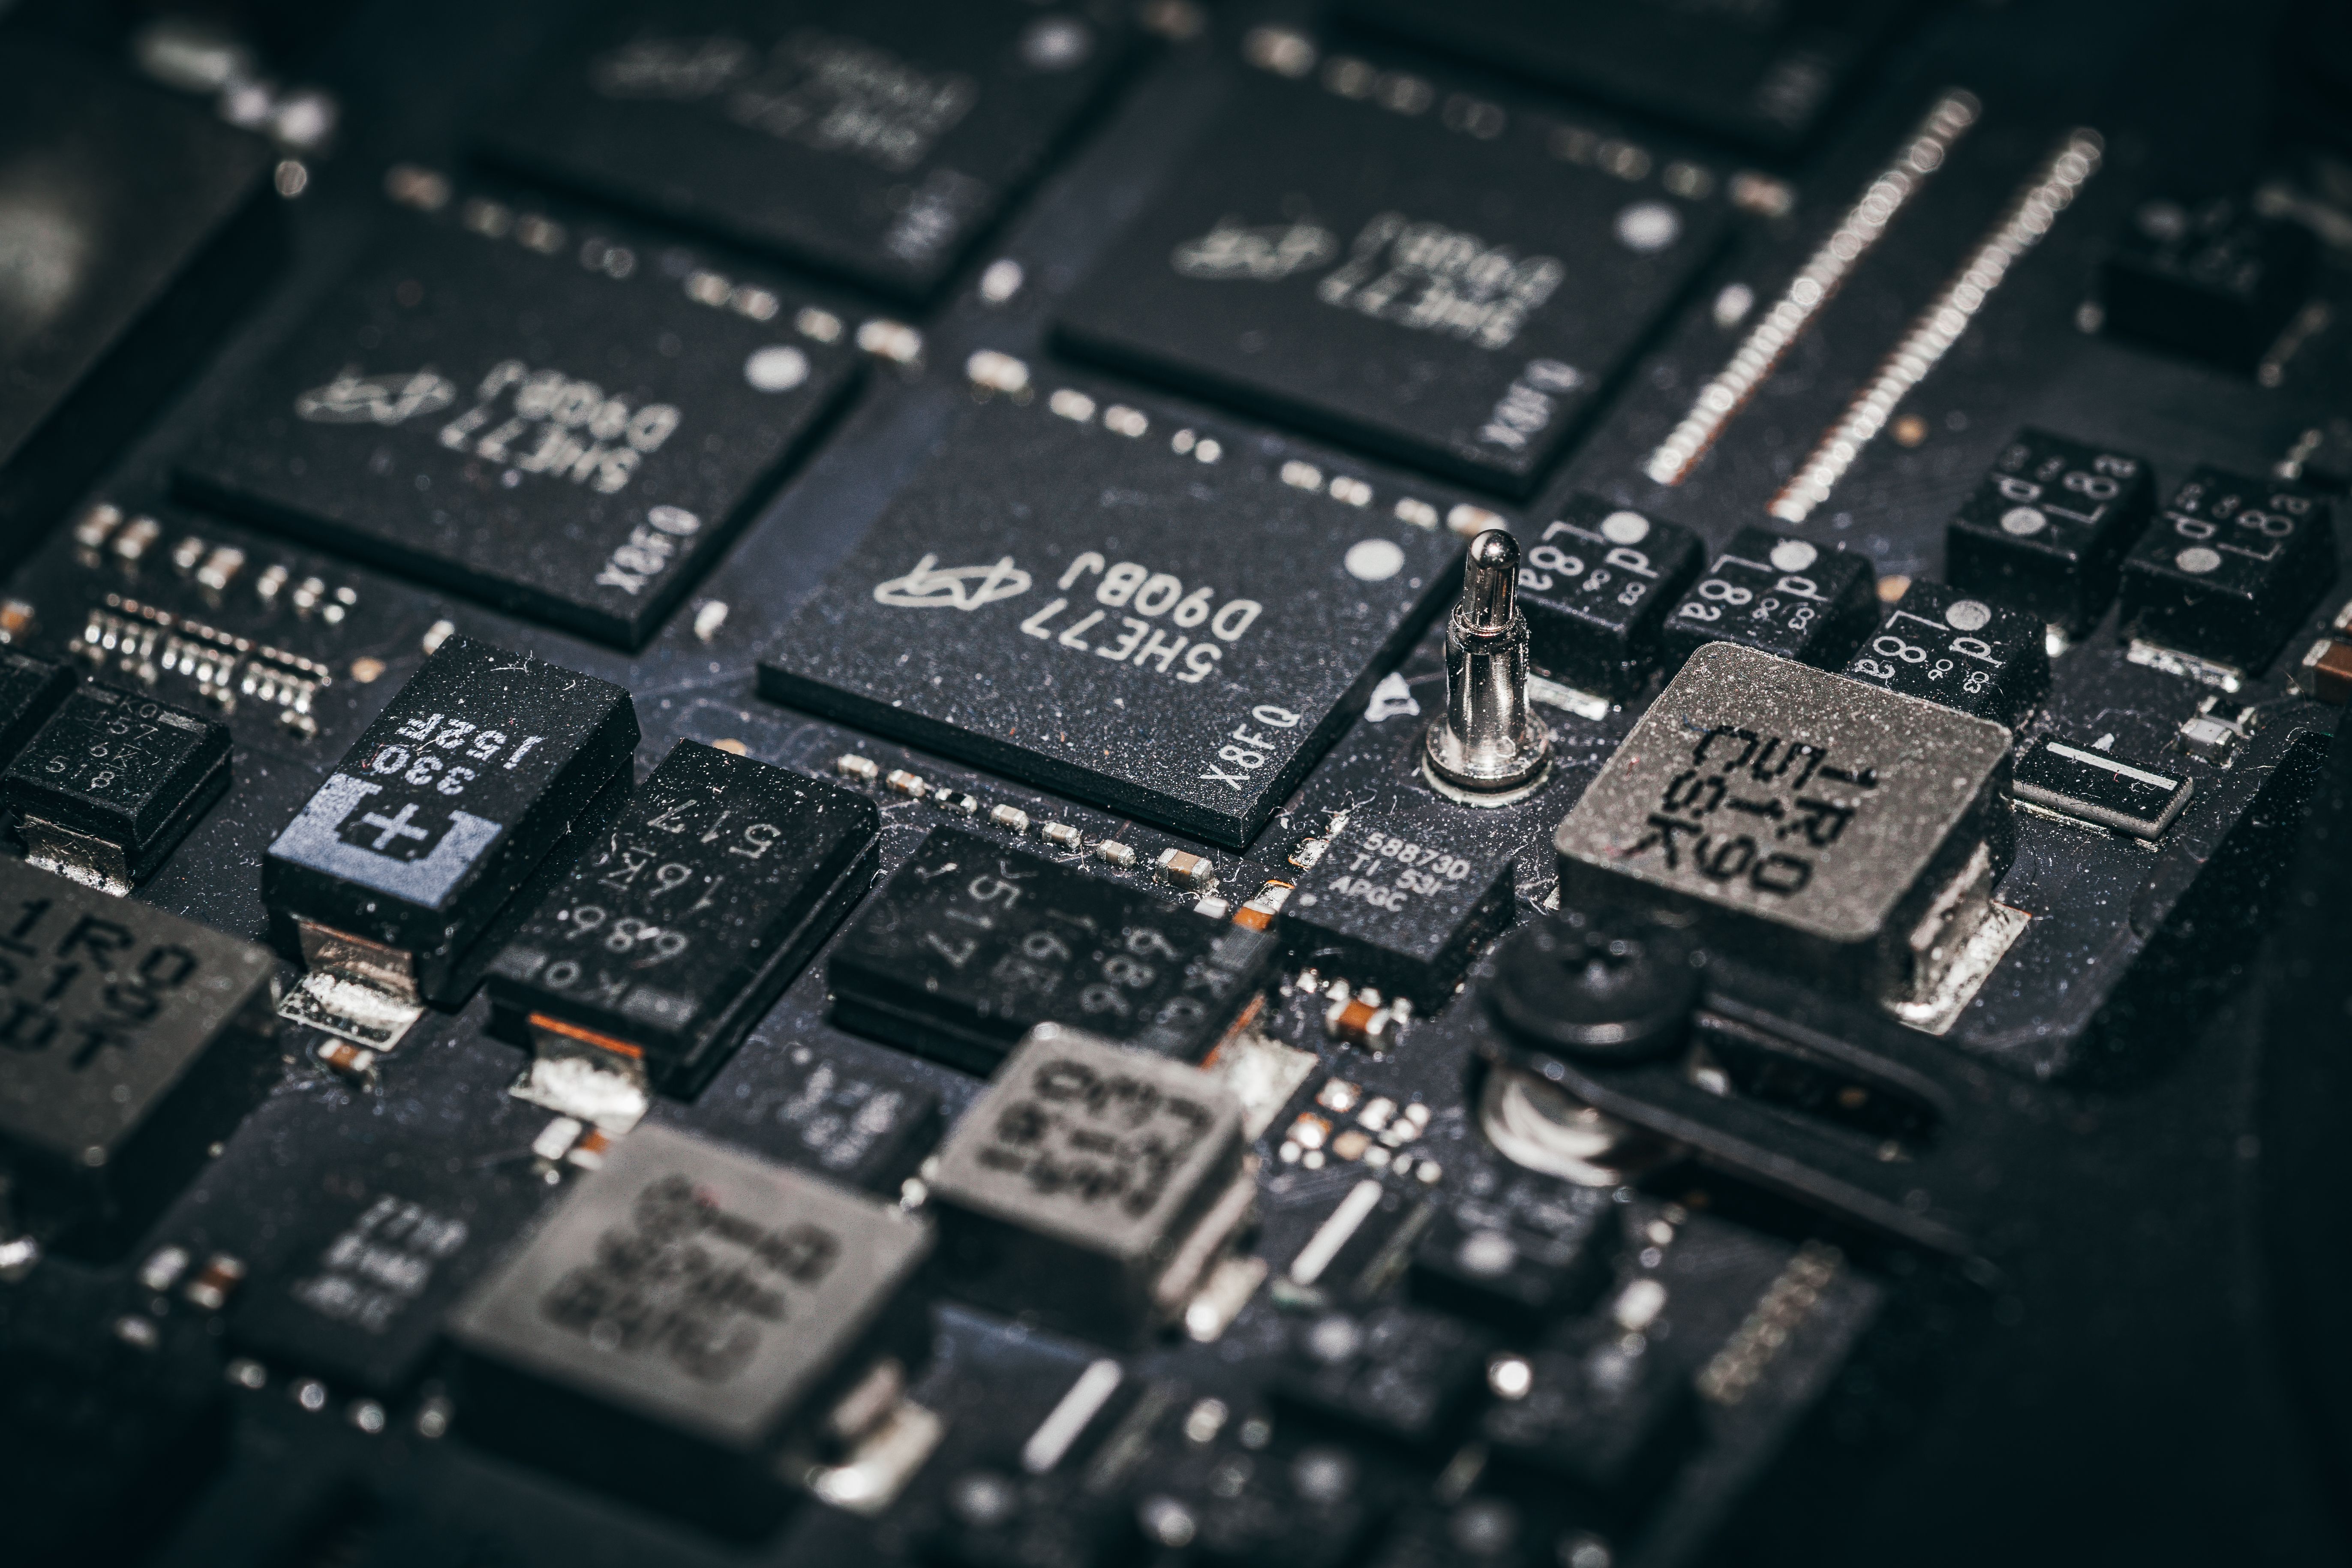
Parts checklist for one card
- A triggerable audio module with onboard storage or a supported memory card.
- A small speaker whose impedance and power rating match the module.
- A normally open momentary switch, or two conductive foil contacts for a paper switch.
- A low-voltage battery holder and batteries recommended by the module maker.
- Thin stranded wire, heat-shrink tubing or electrical tape, and a small piece of perfboard if the module needs mechanical support.
- Card stock, foam tape, double-sided tape, and a spacer or folded paper pocket to protect the speaker.
- A computer and audio editor for recording, trimming, and exporting the message.
For a first attempt, use disposable AA or AAA cells if the module supports them. A removable battery pack makes testing straightforward and avoids building a charging circuit into a paper object. Rechargeable lithium-polymer cells can make the card thinner, but they require a charger and protection system designed for that cell. The U.S. Department of Energy notes that lithium-ion charging must control voltage and current and monitor safe operating conditions; a random USB charging board is not automatically a safe battery-management system.
Record the message before touching the soldering iron
Audio quality is easier to fix in software than after the circuit is sealed inside a card. Record in a quiet room, leave a little silence at the beginning, remove obvious handling noise, and keep the message short enough that the listener does not have to hold the card open for an awkwardly long time.
Export in the format your module actually supports. Many simple boards expect WAV files with specific sample rates, bit depths, channel counts, or filename conventions. If the board requires a name such as T00.WAV, follow that spelling exactly. A perfect recording with the wrong filename is still a silent card.
Test playback through the intended speaker before mounting anything. Tiny speakers often sound thin because they cannot reproduce much bass, not because the recording is defective. Speech usually works better than music: it has a narrower useful frequency range, remains intelligible at modest volume, and makes less demand on a small battery.
Wire the circuit in a sequence that limits mistakes
- Load the audio first. Connect the module to the computer only as its instructions specify, copy the file, and confirm that the board recognizes it.
- Identify power and ground. Do not guess from wire color alone. Confirm the positive input, ground, and acceptable voltage range on the board documentation.
- Connect the speaker. Use the module’s speaker output terminals, not an arbitrary GPIO pin. Respect the stated impedance. SparkFun’s amplifier guidance shows why: output power changes with supply voltage and speaker load, and the wrong connection can damage the amplifier.
- Add the trigger. For a ground-triggered input, connect one side of the normally open switch to the trigger pin and the other to ground. If you are using foil contacts, arrange them so the card closes the circuit only when opened.
- Power up on the bench. Trigger the message repeatedly. Listen for distortion, intermittent wires, false triggers, and a reset when the sound starts.
- Strain-relieve the wires. Add a small amount of hot glue or tape where wires meet the speaker or board, while keeping glue away from moving switch contacts and the speaker cone.
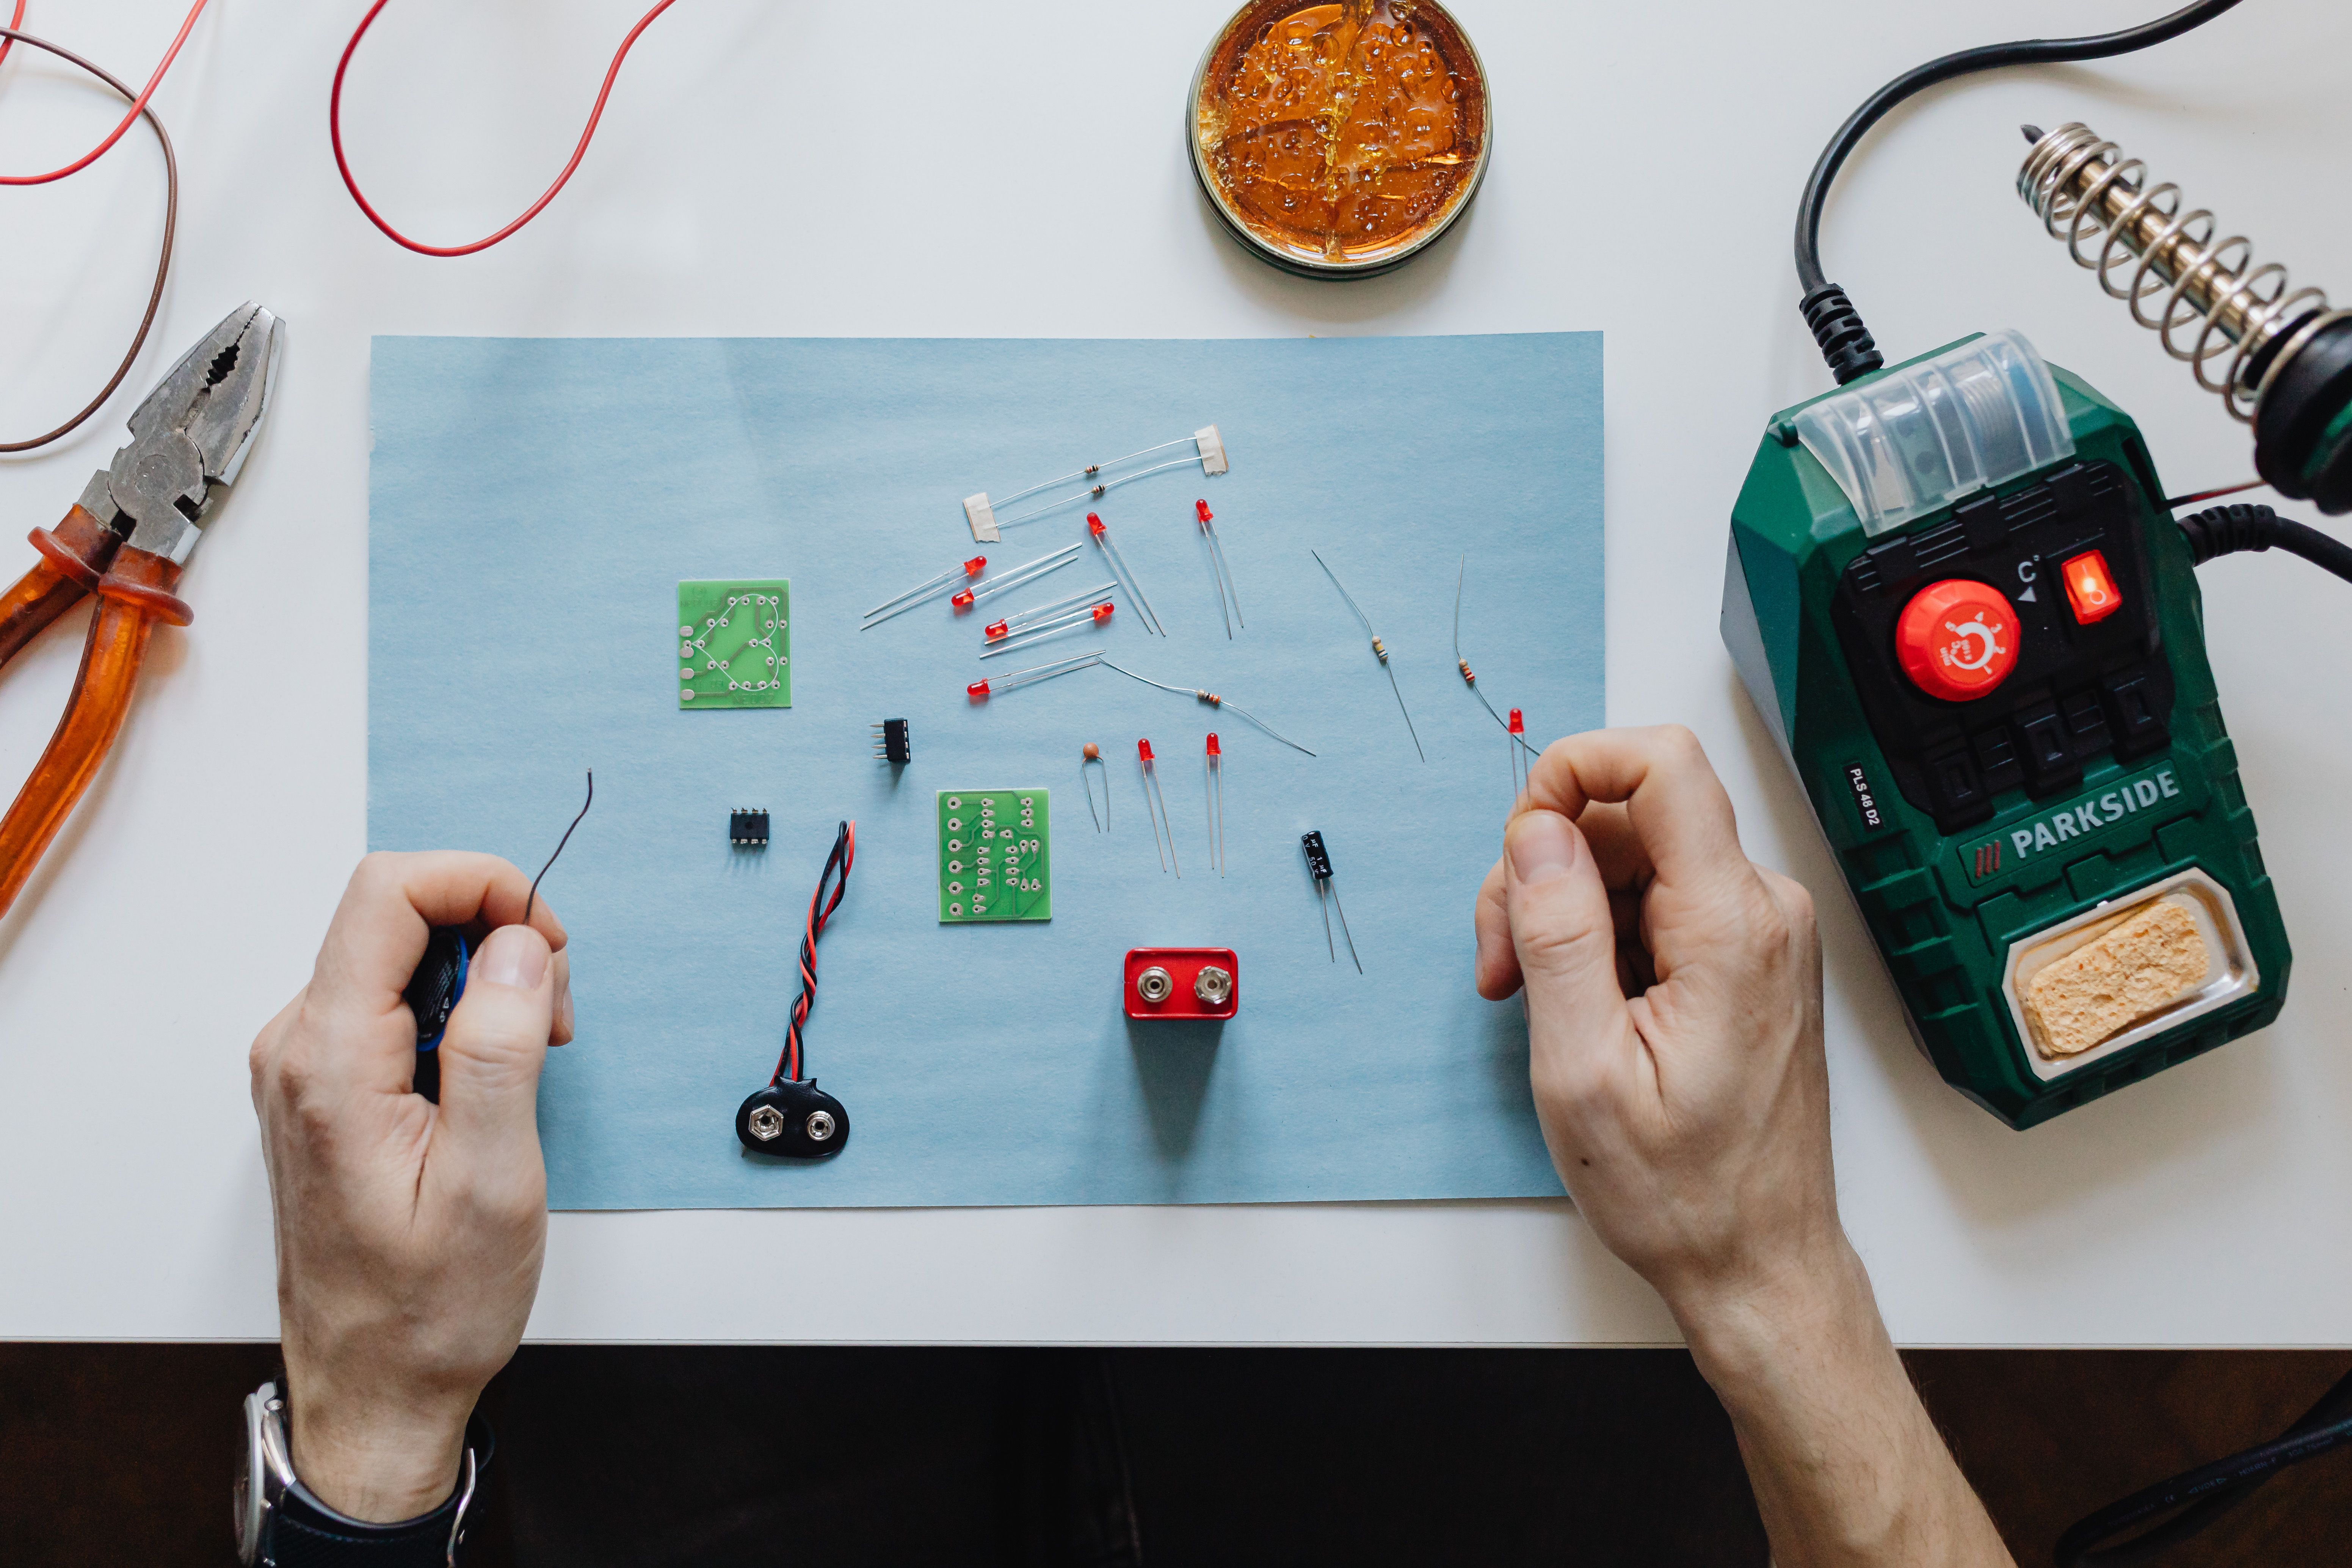
Make the paper switch reliable
The switch is where a clever paper design becomes either delightful or frustrating. Two foil patches can work, but they may bounce electrically as they touch. That can cause repeated playback or a stuttering start. A small tactile button is electrically predictable, while a folded card contact is more visually invisible.
Place the contacts where the card’s natural movement closes them decisively. Avoid a position where the paper brushes past the contact slowly. If the module has built-in debouncing, use it. If it does not, a physical switch and a simple debounce circuit may be necessary.
There is also a design choice: should opening the card play the message, or should pressing a button play it? Opening-triggered playback feels magical, but it can start accidentally in a crowded envelope. A button gives the recipient control and is easier to test. My preference for a first build is a button unless the card’s whole concept depends on surprise.
Why small speakers sound bad, and what to do
“Louder” is not the same as “clearer.” Distortion usually comes from one of four causes:
- The amplifier is being asked to drive a speaker with an incompatible impedance.
- The supply voltage sags when playback begins.
- The recording is clipped or the volume is set too high.
- The speaker is mounted against a loose surface that rattles.
Use foam tape or a paper baffle to keep the speaker from vibrating against the card. Leave the grille uncovered, and do not squash the cone under a decorative layer. A small acoustic opening can make speech clearer without increasing electrical power.
If you use a separate amplifier, read its output wiring carefully. A class-D board may use differential outputs, and the speaker should connect between the two specified output terminals. SparkFun’s Qwiic Speaker Amp guide gives a useful example of the broader rule: speaker impedance, supply voltage, output polarity, and the amplifier’s rated load all belong in the same design decision.
Battery and paper safety are part of the design
Keep the battery accessible, insulated, and physically separated from sharp component leads. Do not let a coin cell, loose wire, or battery holder sit where it can be bent by the fold. If the card uses a lithium battery, do not charge it while it is buried inside the finished card unless the design includes the correct charger, protection, and ventilation.
Also consider the recipient. Small batteries can be dangerous if swallowed, and exposed magnets or sharp solder joints are poor choices for a card that may be handled by children. A removable AA pack is thicker, but it is easier to inspect and replace. For a beginner project, that trade-off is usually worth making.
Troubleshoot from the speaker backward
When the card is silent, resist the urge to replace everything. Use this order:
- Check the battery voltage and polarity.
- Confirm that the module’s indicator or power LED behaves normally.
- Trigger the board manually at the module pins, bypassing the paper switch.
- Confirm the audio filename and format.
- Check speaker continuity and every solder joint.
- Try a known-good speaker that matches the documented impedance.
- Reduce the playback level if the board resets or the sound is heavily distorted.
If manually grounding the trigger works but opening the card does not, the audio circuit is probably fine and the paper switch needs attention. If the module triggers but the speaker is silent, inspect the output type and speaker connection before blaming the recording.
The best first build is deliberately modest
Build one message, one speaker, one trigger, and one battery pack. Do not begin with multiple tracks, motion sensors, rechargeable power, and a custom microcontroller enclosure. Each extra feature creates another way for the card to fail after it has been glued shut.
The satisfying part of this project is not hiding the most circuitry in the smallest fold. It is making the electronics disappear into a physical gesture: open the card, complete a circuit, and hear a voice that could not have been printed on the page. Once that works reliably, a second version can add volume control, multiple messages, light effects, or a custom controller. The first version only needs to play one clear sentence every time.
Quick build checklist
- Does the module support the audio file format and filename you used?
- Is the speaker impedance within the module’s specified range?
- Does the battery provide the correct voltage without needing an improvised charger?
- Does the trigger close cleanly and only once?
- Can the speaker breathe through an opening in the card?
- Are every battery contact and solder joint insulated from bending and paper clips?
- Have you tested the completed card dozens of times before giving it away?
A mini speaker and a microchip are enough to make a greeting card speak, but dependable results come from respecting the boundaries between them. Let the sound module handle playback, let the amplifier handle current, let the speaker match the output, and let the paper switch do one simple job. That is the beginner’s path to a card that feels handmade rather than merely assembled.